Whether you’re a new homeowner or have been in your home for years, understanding basic DIY plumbing fixes can save you both time and money. Instead of calling a plumber for every drip or clog, equip yourself with the knowledge and skills to tackle simple plumbing issues on your own. This guide provides straightforward tips and instructions on common plumbing fixes that every homeowner should know. Remember, safety is paramount and some tasks are better left to professionals, so we’ll also help you recognize when it’s time to call in an expert.
Understanding Your Plumbing System
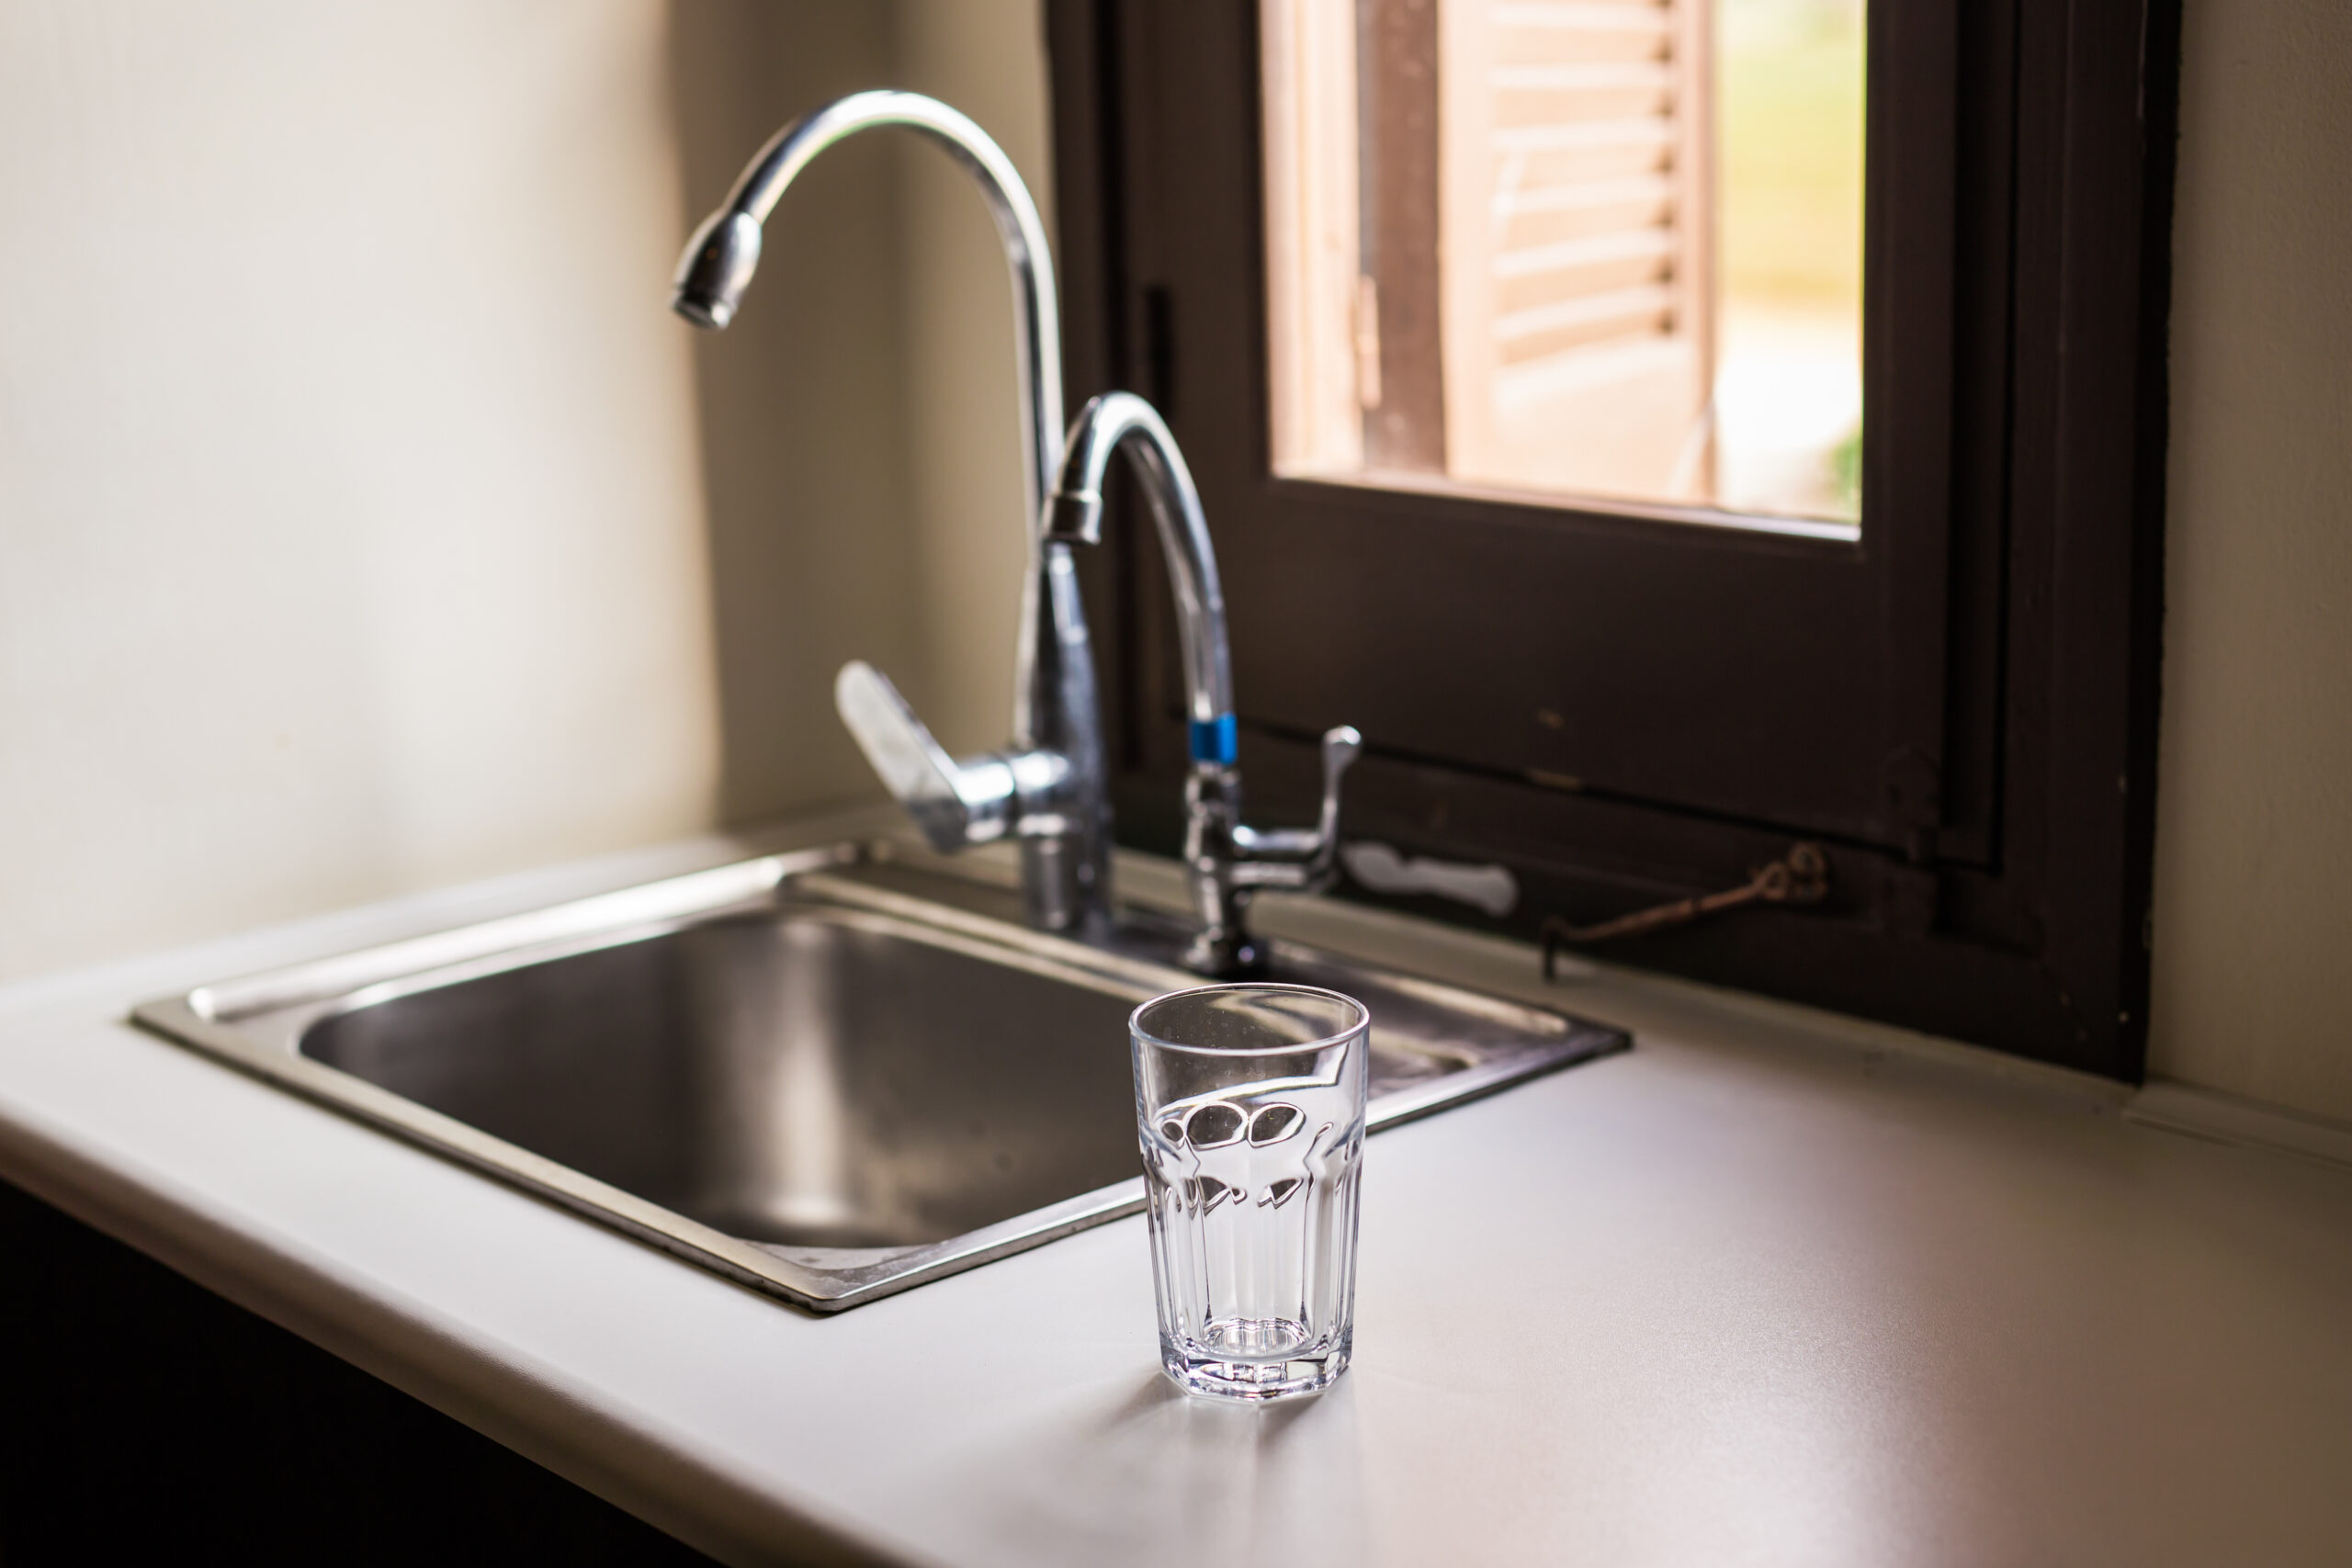
Overview of Home Plumbing
Your home’s plumbing system is divided into two subsystems. One brings freshwater in, and the other takes wastewater out. The water entering your home is under pressure to allow it to travel around corners and upstairs. Drainage systems, on the other hand, rely on gravity to move wastewater along. Understanding this basic layout helps you identify problems and communicate more effectively with professionals when necessary.
Tools Every Homeowner Should Have
To handle most basic plumbing tasks, you’ll need a few essential tools. Here’s a quick list:
- Adjustable wrench
- Plunger (both a sink and a toilet plunger)
- Pipe wrench
- Phillips and flathead screwdrivers
- Pliers
- Plumber’s tape
- Caulking gun
- Utility knife
Having these tools in your kit will prepare you for the most common home plumbing tasks.
Common DIY Plumbing Fixes
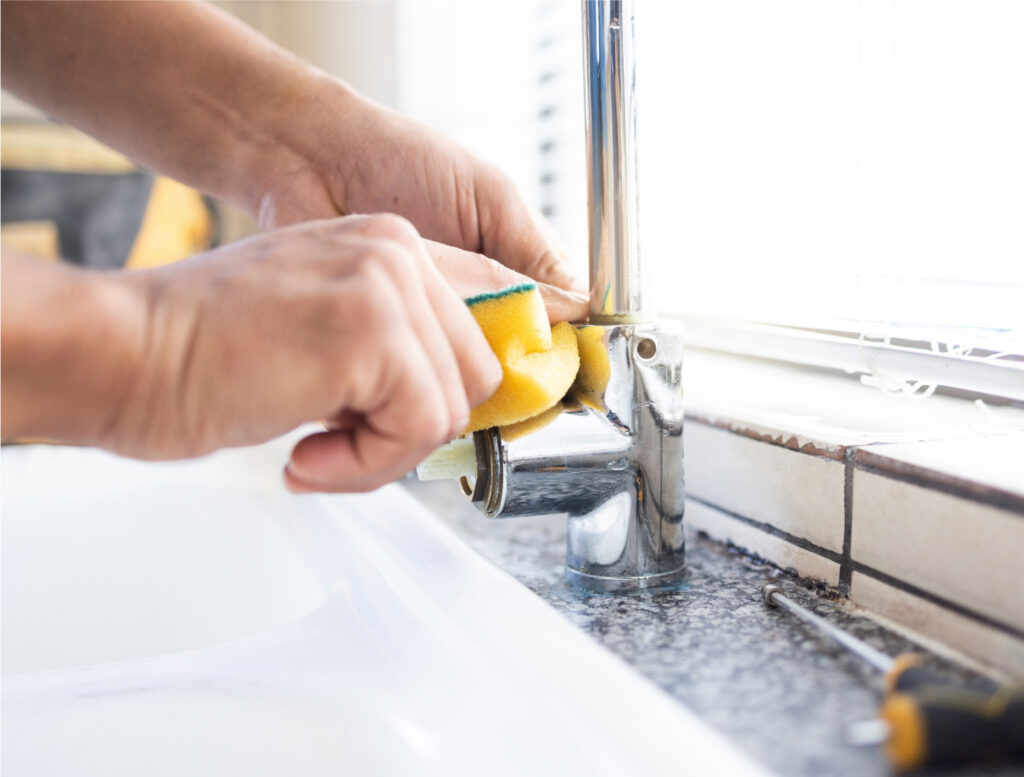
Fixing a Leaky Faucet
Tools and Materials Needed:
- Adjustable wrench
- Screwdriver
- Replacement washers and O-rings
Step-by-Step Instructions:
- Turn off the water supply to your faucet. Look for the shut-off valves under the sink and turn them clockwise.
- Remove the faucet handle. This usually involves unscrewing a set screw on the handle with a screwdriver.
- Take out the stem or cartridge. Use your wrench to loosen the nut and carefully remove the component.
- Inspect the washer and O-ring. These are typically located at the bottom of the stem. Replace them if they appear worn or damaged.
- Reassemble the faucet. Replace the stem and handle, and turn the water back on to test your work.
Unclogging Drains
Different Methods:
- Using a plunger: This is effective for simple clogs. Fill the sink partially with water, then use the plunger to create a seal over the drain and plunge vigorously.
- Vinegar and baking soda: Pour half a cup of baking soda followed by half a cup of vinegar into the drain. Cover it to contain the reaction for a few minutes, then flush with hot water.
- Plumber’s snake: This tool is great for stubborn clogs. Insert the snake into the drain and turn it until you feel resistance, then twist to break up the clog.
Running Toilet Repair
Common Causes and Fixes:
- Check the flapper: A faulty flapper can cause the toilet to run continuously. Turn off the water supply, drain the tank, and inspect the flapper. Replace it if it’s worn or damaged.
- Adjust the float: Sometimes the float is set too high, which causes the water to run. Adjust it so that the water stops filling at about an inch below the overflow pipe.
Replacing Showerheads
Step-by-Step Guide:
- Remove the old showerhead: Use the wrench to unscrew the old showerhead. Apply steady pressure to avoid damaging the pipe.
- Clean the threads: Remove any old plumber’s tape or residue from the threads.
- Apply new plumber’s tape: Wrap the threads with new plumber’s tape to ensure a good seal.
- Install the new showerhead: Screw the new showerhead on by hand and then tighten with the wrench.
Safety First
Safety Tips When Doing Plumbing Work
Always shut off the water before you start any repairs to avoid water damage. Wear gloves to protect your hands and goggles if you’re working under the sink to prevent debris from getting into your eyes.
When to Call a Professional
Recognizing when a repair is beyond your DIY skills is just as important as knowing how to perform simple fixes. If you encounter extensive water damage, signs of mold, or major blockages that simple methods can’t clear, it’s time to call in a professional plumber.
By familiarizing yourself with these basic plumbing fixes and maintenance tips, you can extend the life of your plumbing system and avoid the inconvenience of unexpected repairs.
Seasonal Plumbing Maintenance Tips
Maintaining your plumbing system throughout the year can prevent major issues and extend the lifespan of your plumbing fixtures. Here are some seasonal tips to help you keep everything flowing smoothly:
Spring
- Inspect for leaks: Check all exposed pipes and fixtures for signs of leakage, including under sinks and around toilets.
- Test outdoor faucets and hoses: Ensure they did not sustain damage over the winter months and are operating correctly.
Summer
- Check for hose bib leaks: Frequent use can cause wear. Replace washers and repair any leaks to save water.
- Clean out gutters and downspouts: Ensure your drainage systems are free from debris to prevent water backup, which can affect your home’s foundation and plumbing system.
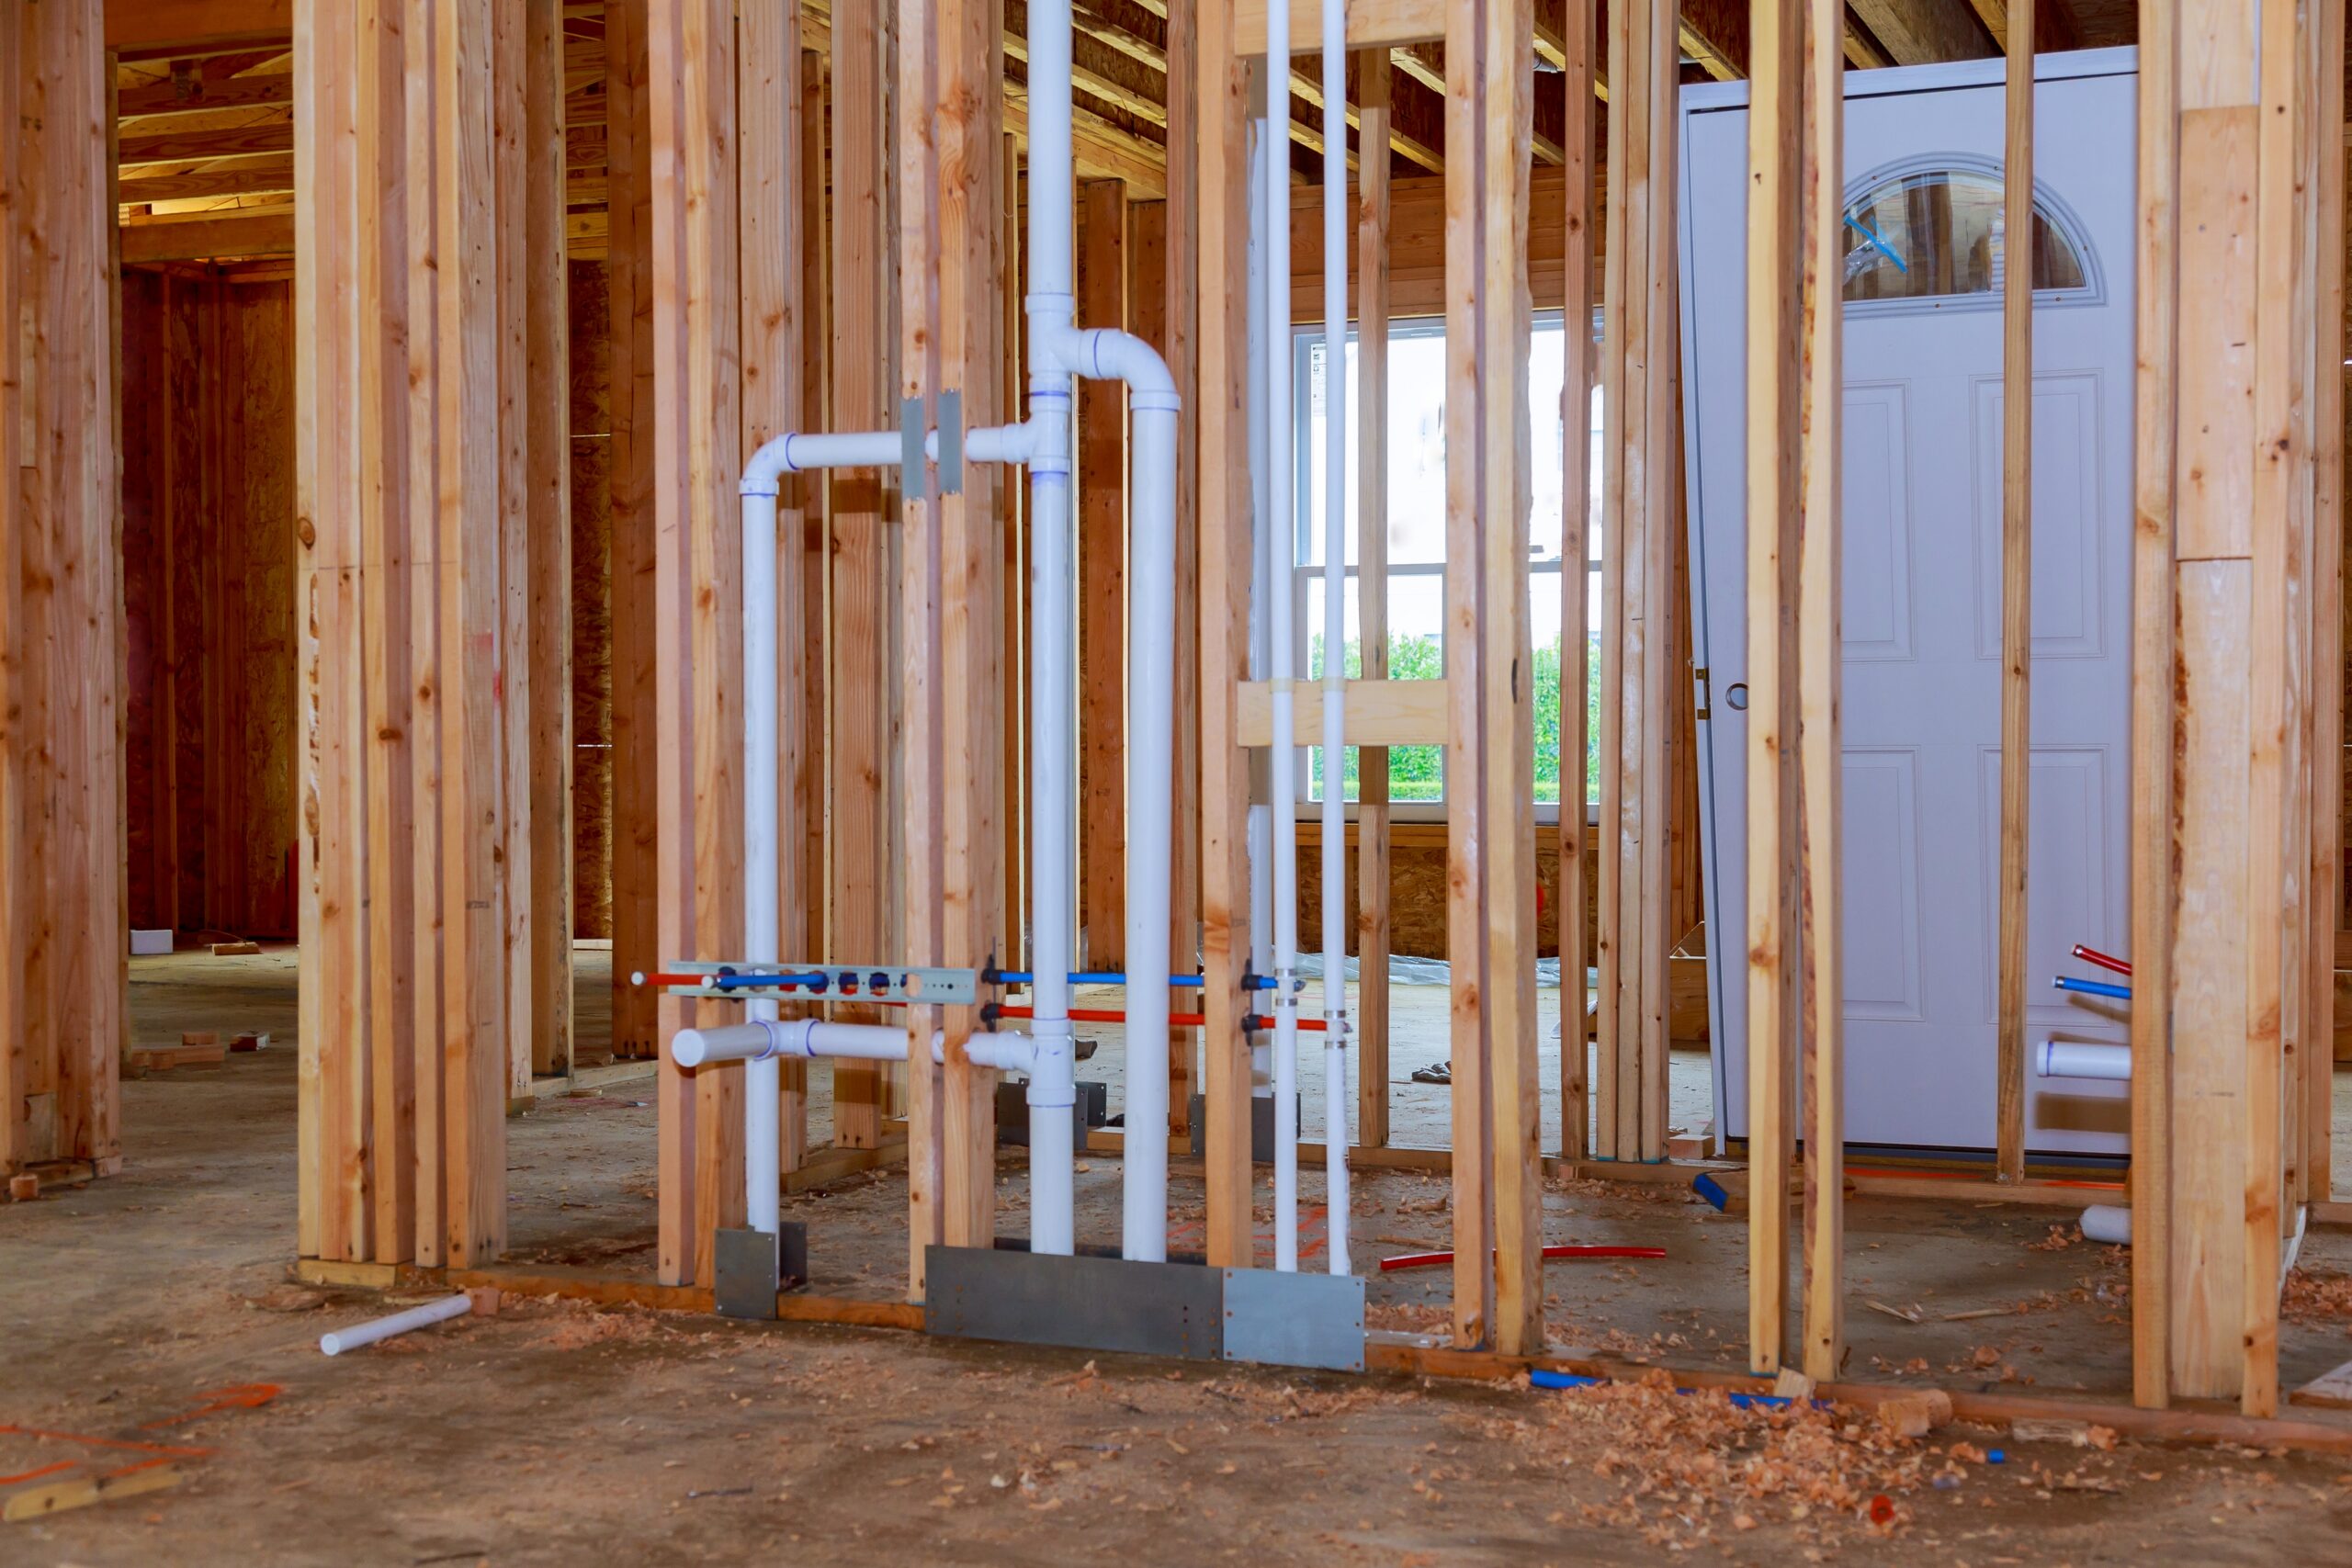
Autumn
- Prepare for freezing temperatures: Insulate pipes in unheated areas like basements, attics, and garages to prevent pipe bursts.
- Service your water heater: Flush the tank to remove sediment, test the pressure relief valve, and check the temperature setting to ensure optimal operation during the colder months.
Winter
- Prevent frozen pipes: Keep your home heated to a minimum of 55 degrees Fahrenheit, even when you are not home.
- Let faucets drip: Allowing a slight drip on extremely cold days can prevent pipes from freezing.
Implementing these maintenance tips according to the season will help ensure that minor issues don’t turn into major emergencies.
Safety First
Safety Tips When Doing Plumbing Work
Safety should always be a top priority when undertaking any DIY plumbing project. Here are essential safety tips to remember:
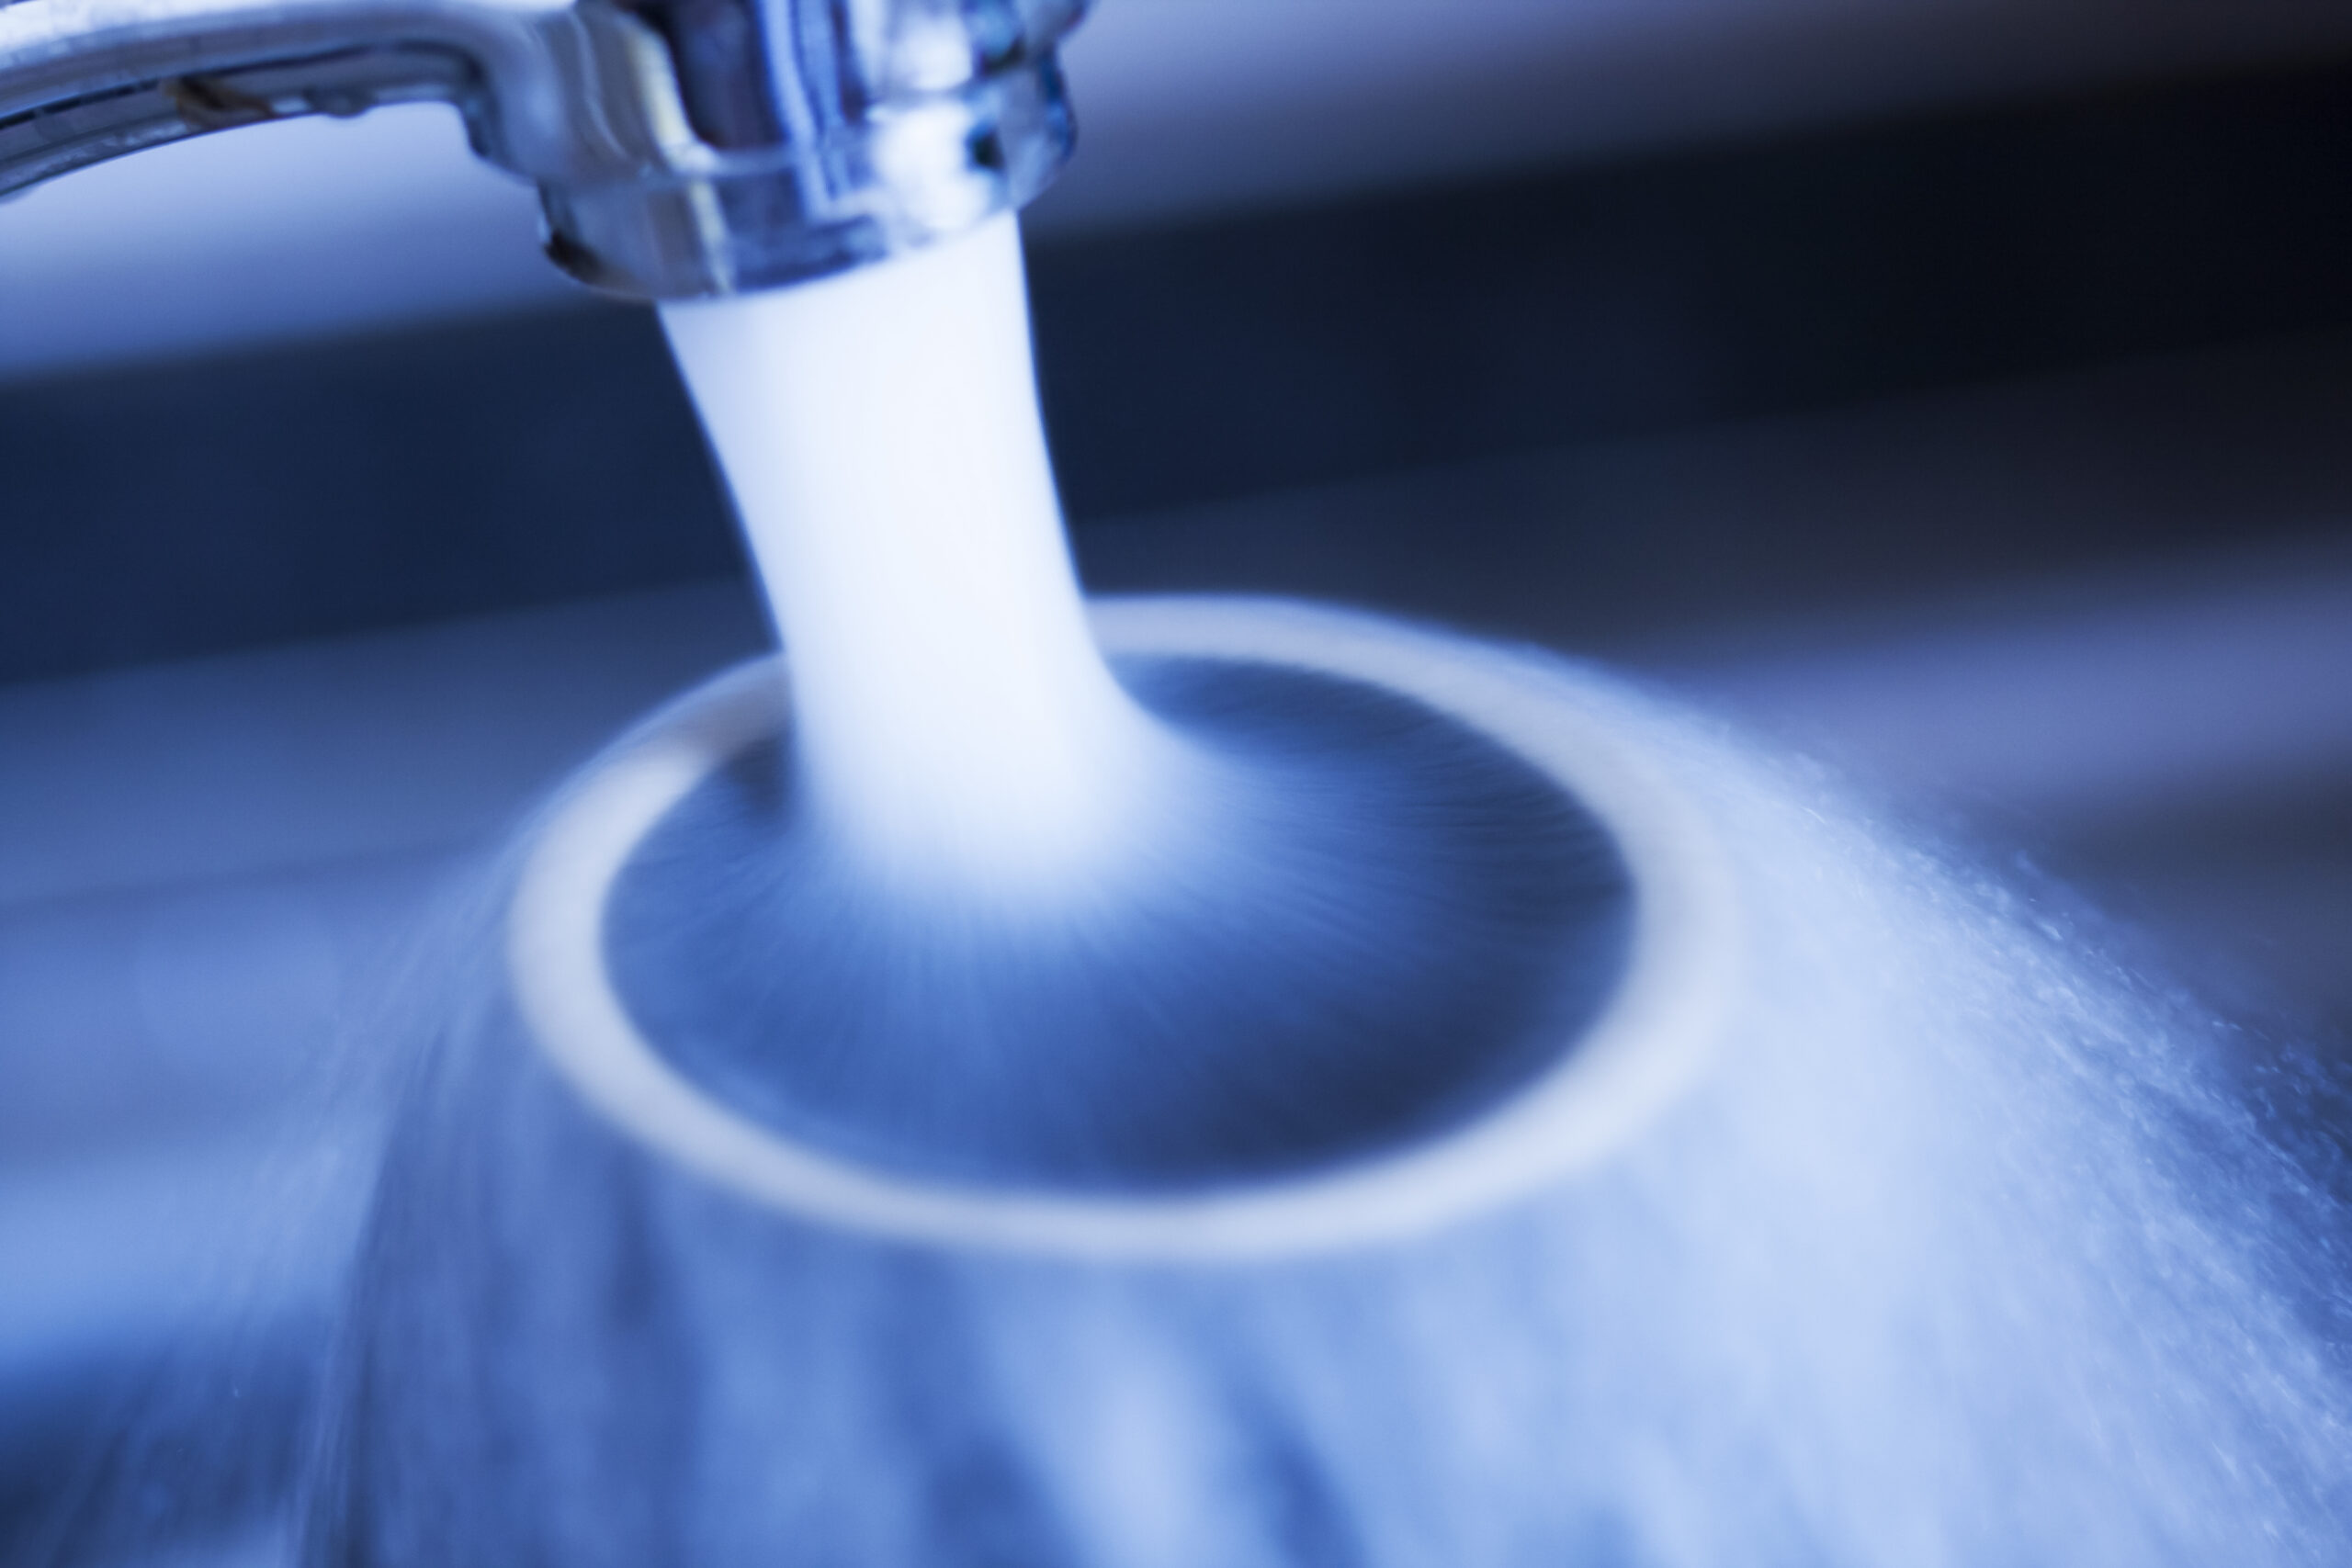
- Turn off the water: Always shut off the main water supply to prevent flooding, especially when repairing or replacing fixtures.
- Test for gas leaks: If you smell gas or suspect a leak when working near gas lines, stop work immediately and contact a professional.
- Use tools properly: Familiarize yourself with the correct use of plumbing tools to avoid injuries.
- Wear appropriate safety gear: Gloves, goggles, and even ear protection can be necessary depending on the job.
When to Call a Professional
While many minor plumbing issues are manageable with a little DIY knowledge, some situations require the expertise of a professional plumber:
Signs That It’s Time to Call a Plumber
- Persistent clogs: If your efforts do not resolve a clog or it recurs frequently, there may be a deeper issue in your sewage system.
- Low water pressure throughout the house: This can indicate more complex problems like pipe corrosion or obstructions in the main lines, requiring professional diagnostics and tools.
- Major installations: Installing a new bathtub, shower, or main valve typically demands precision and expertise beyond typical homeowner skills.
Conclusion
Being equipped with basic DIY plumbing skills can help you solve simple issues promptly and save money. However, recognizing the limits of your abilities and knowing when to call a professional is just as crucial. This balance will keep your home’s plumbing system in top shape and help avoid costly emergencies.
By learning to manage the basic upkeep of your home’s plumbing and responding appropriately to issues, you contribute significantly to the longevity and efficiency of your living space. Feel free to reach out to professional plumbers when the situation is out of hand to ensure a safe and effective resolution.